

Resource Center
How To Change The Atomizer On A Wulf Growler Electronic Dab Rig?

Continue With This Resource
Wulf Mods Quick Brief
What You Should Know
A fast summary of the key points, questions, and guidance covered in this guide.
Overview
Key Takeaways
- Always power off and let the Growler cool completely before servicing it.
- No tools are needed; the atomizer is designed to be swapped by hand.
- Replace the atomizer when vapor, flavor, or heating quality drops.
- Clean the connection points before installing a new atomizer.
- Keep a spare atomizer on hand to minimize downtime.
Questions This Resource Answers
- How do I change the atomizer on a Wulf Growler?
- How often should I replace it?
- Do I need tools to do it?
- How can I make my atomizer last longer?
Recommended Products
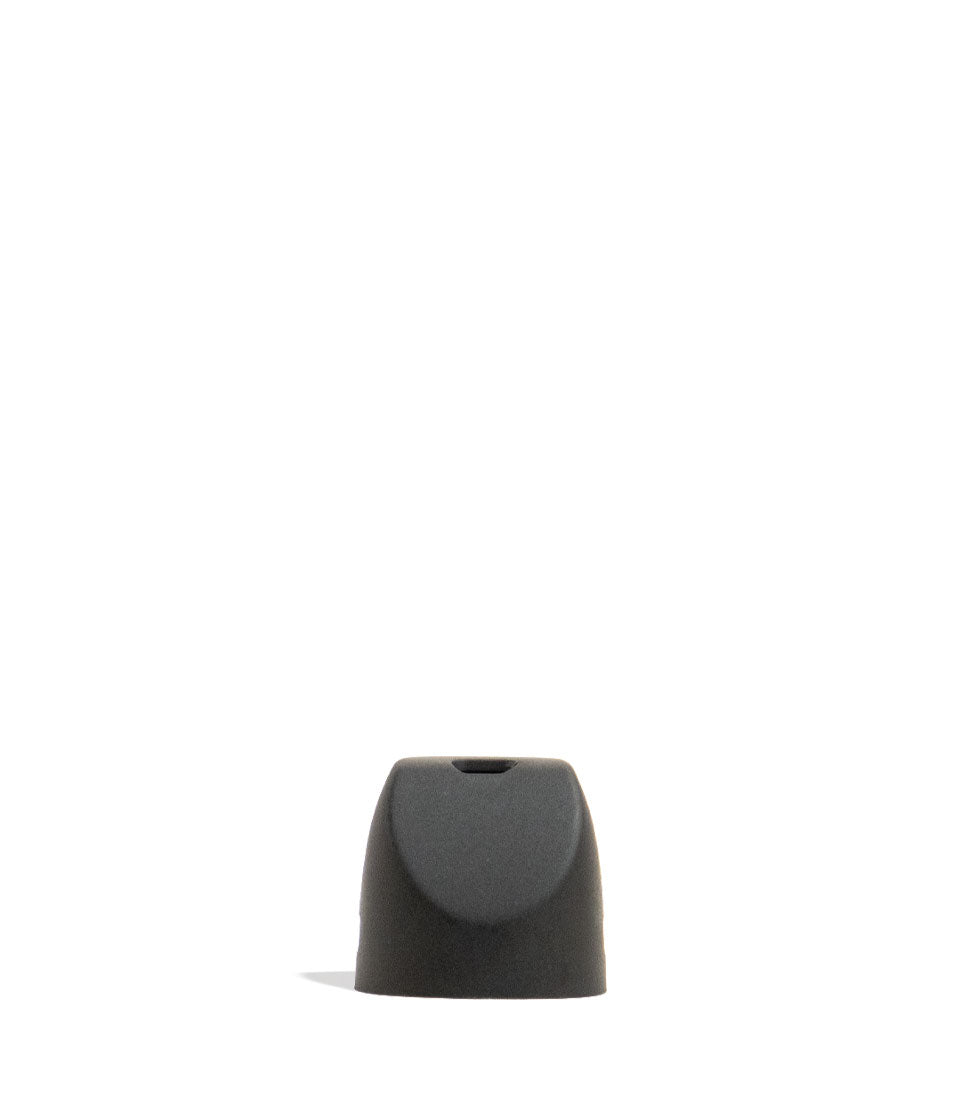
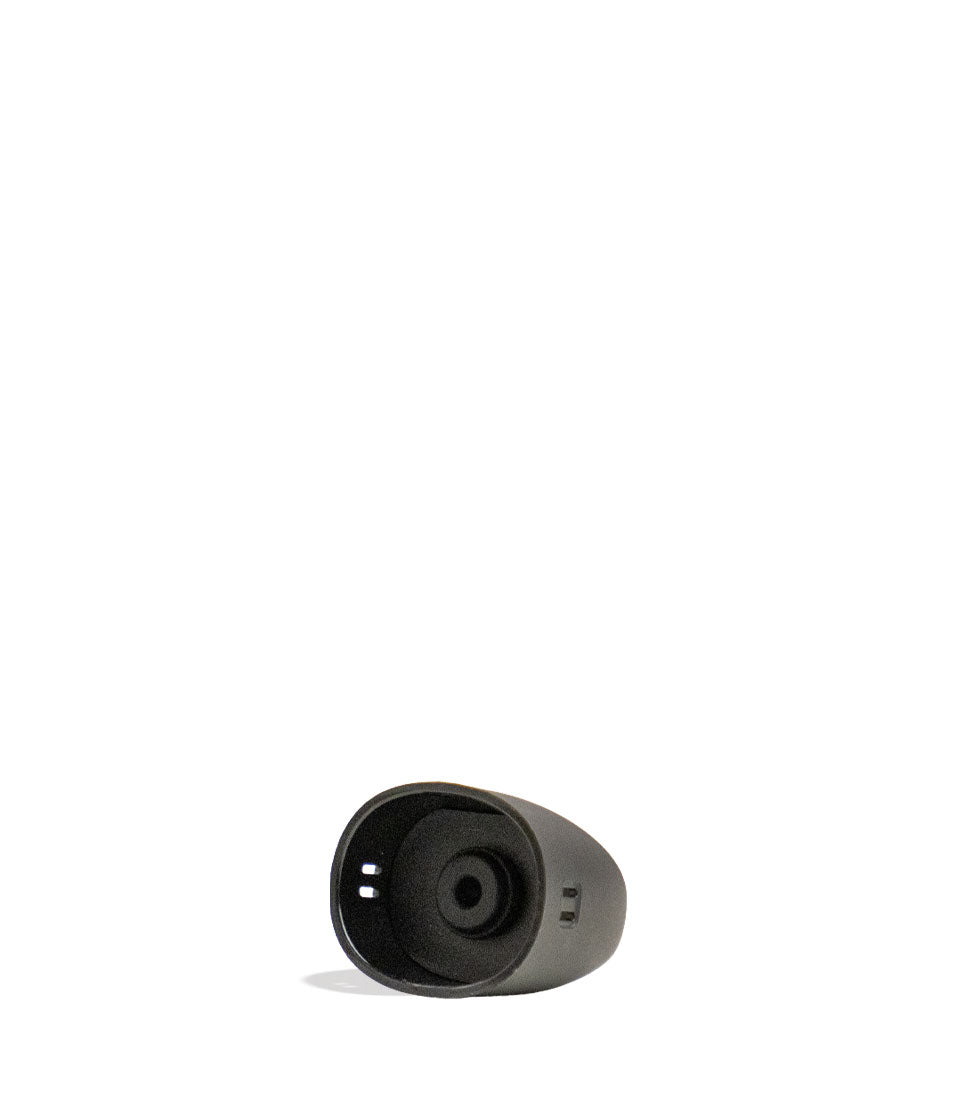
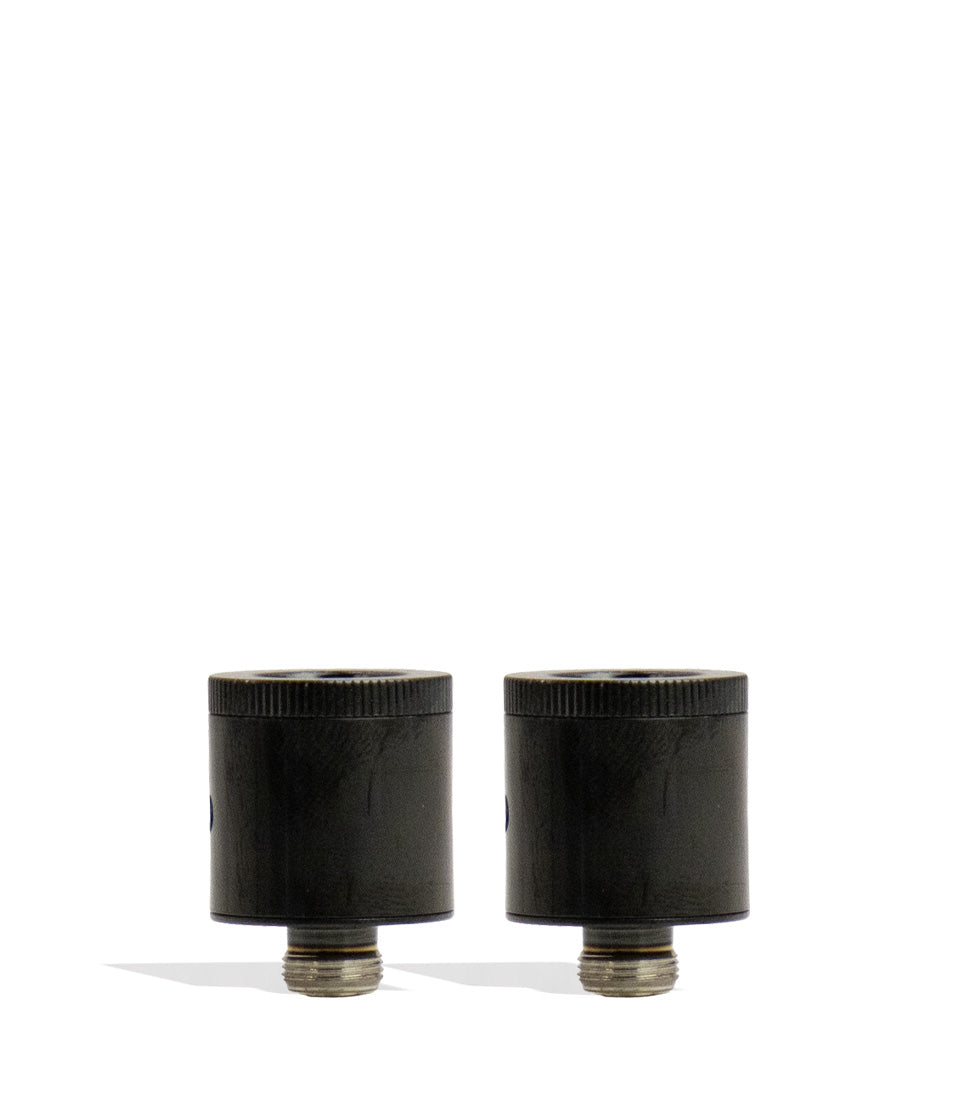
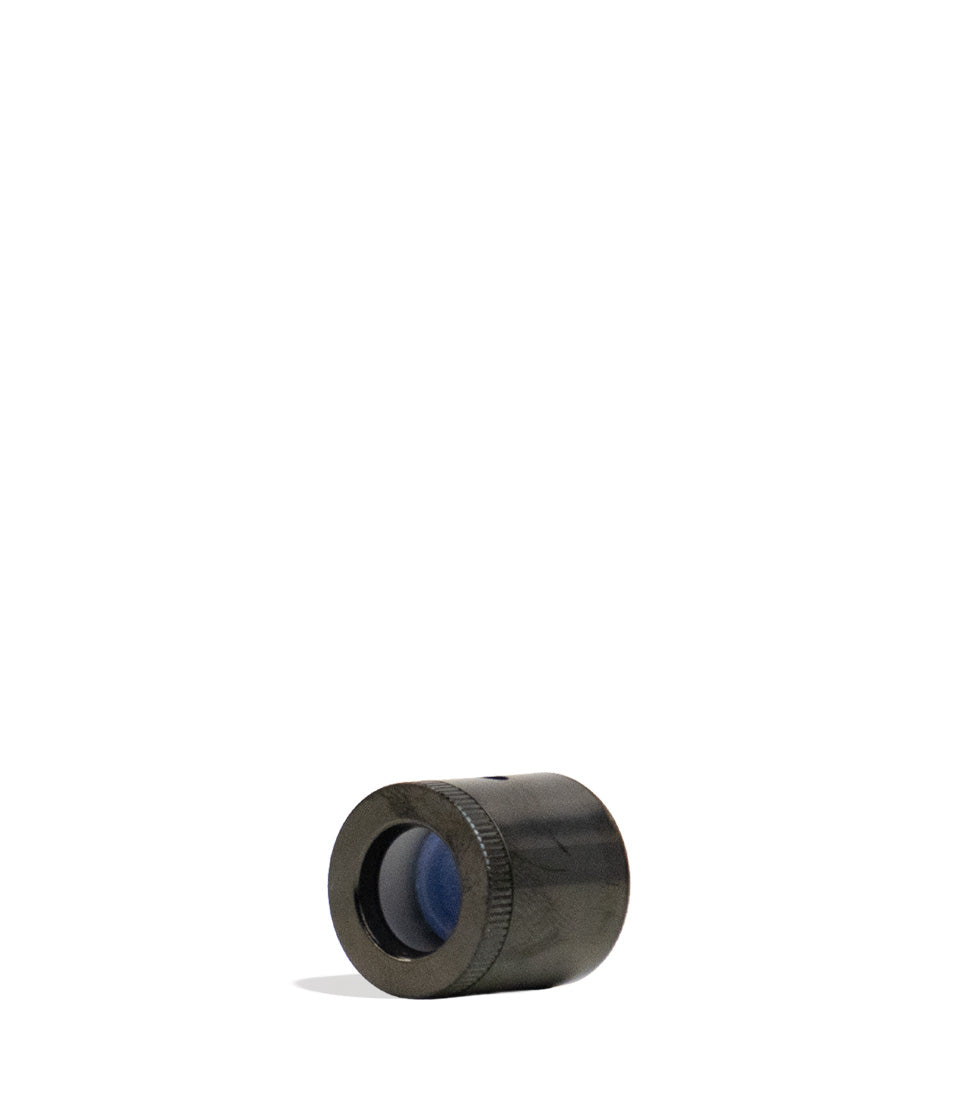
Shop Replacement Parts
Browse the products featured in this guide.
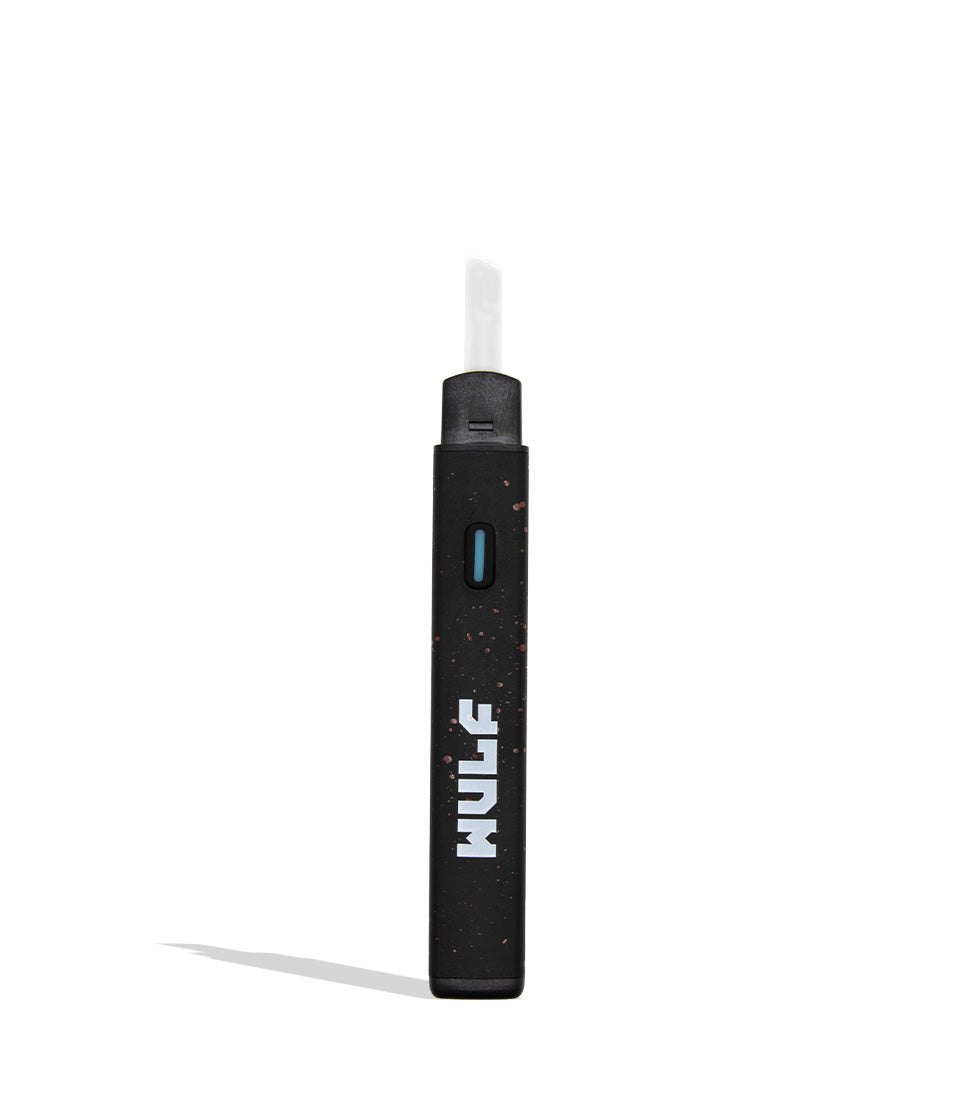
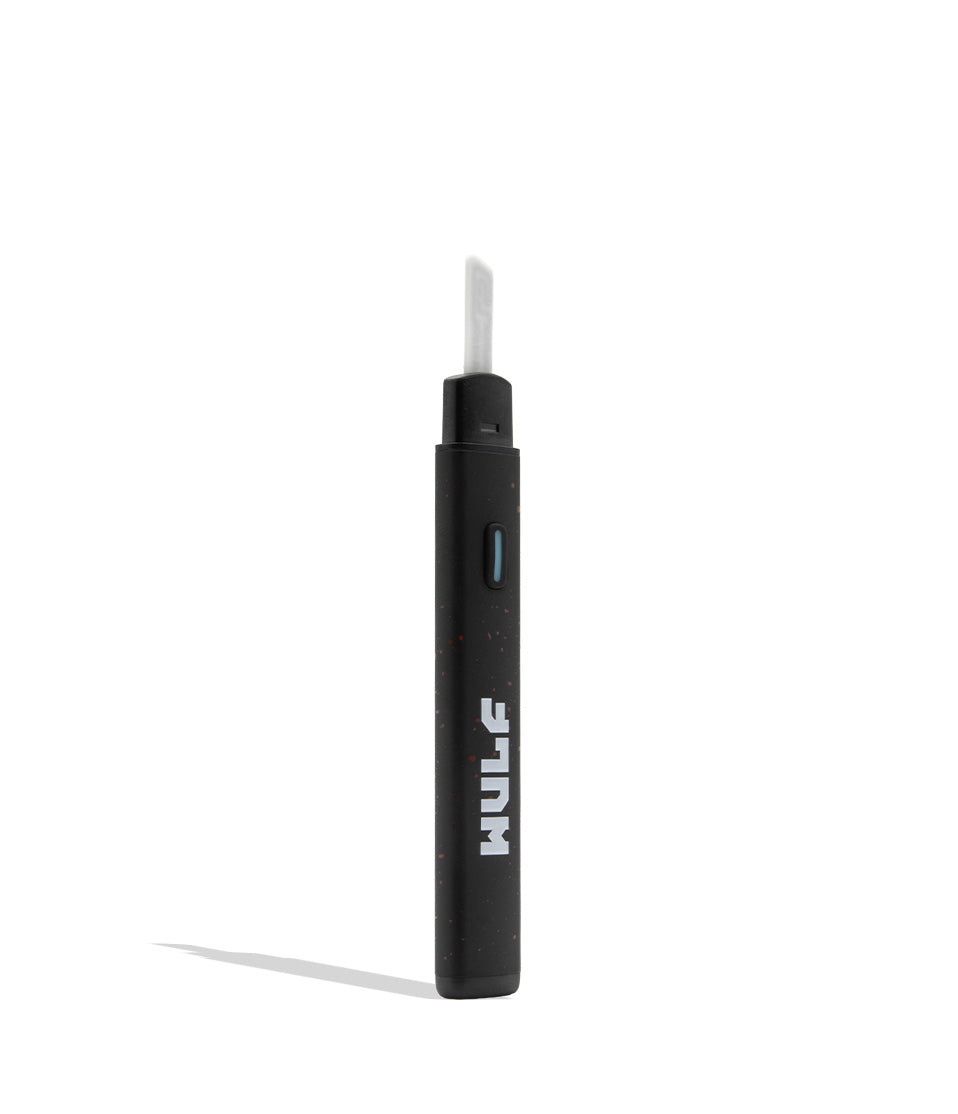
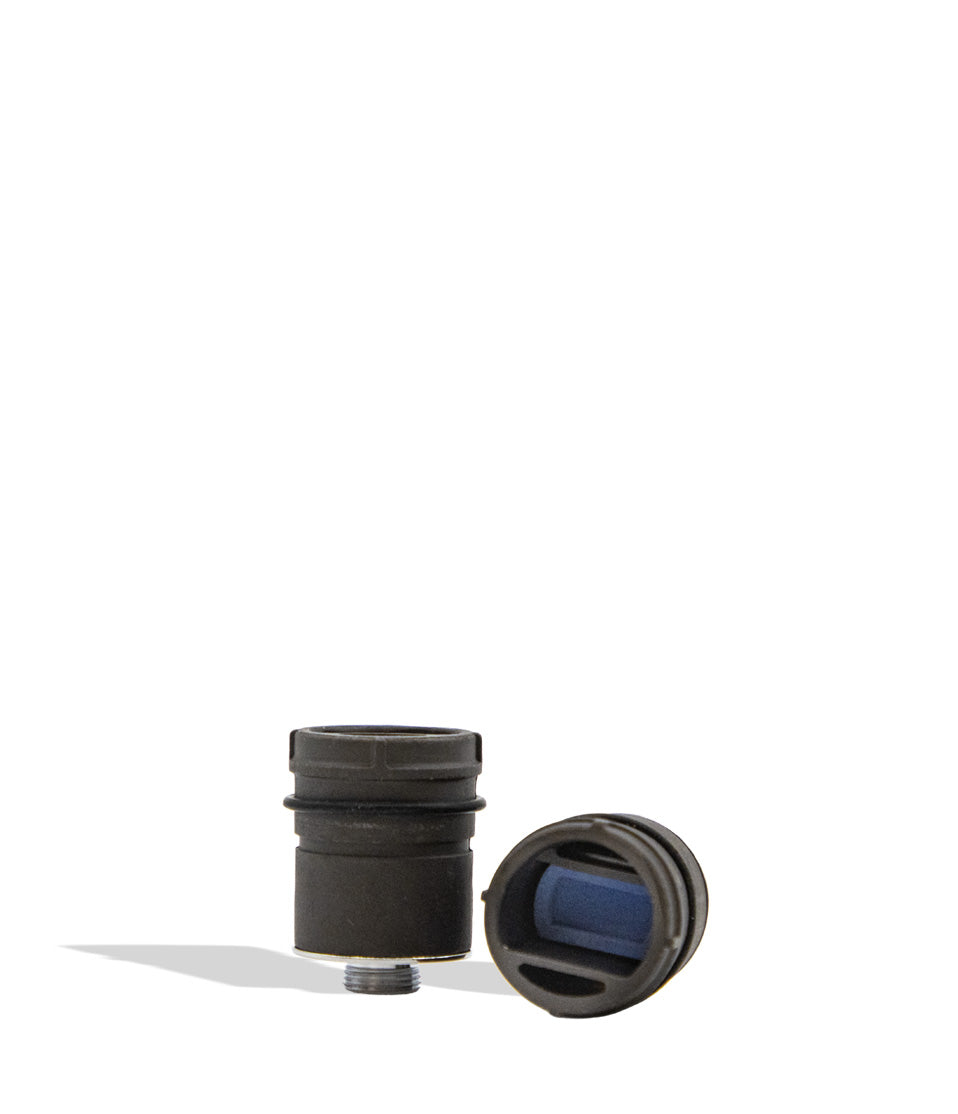
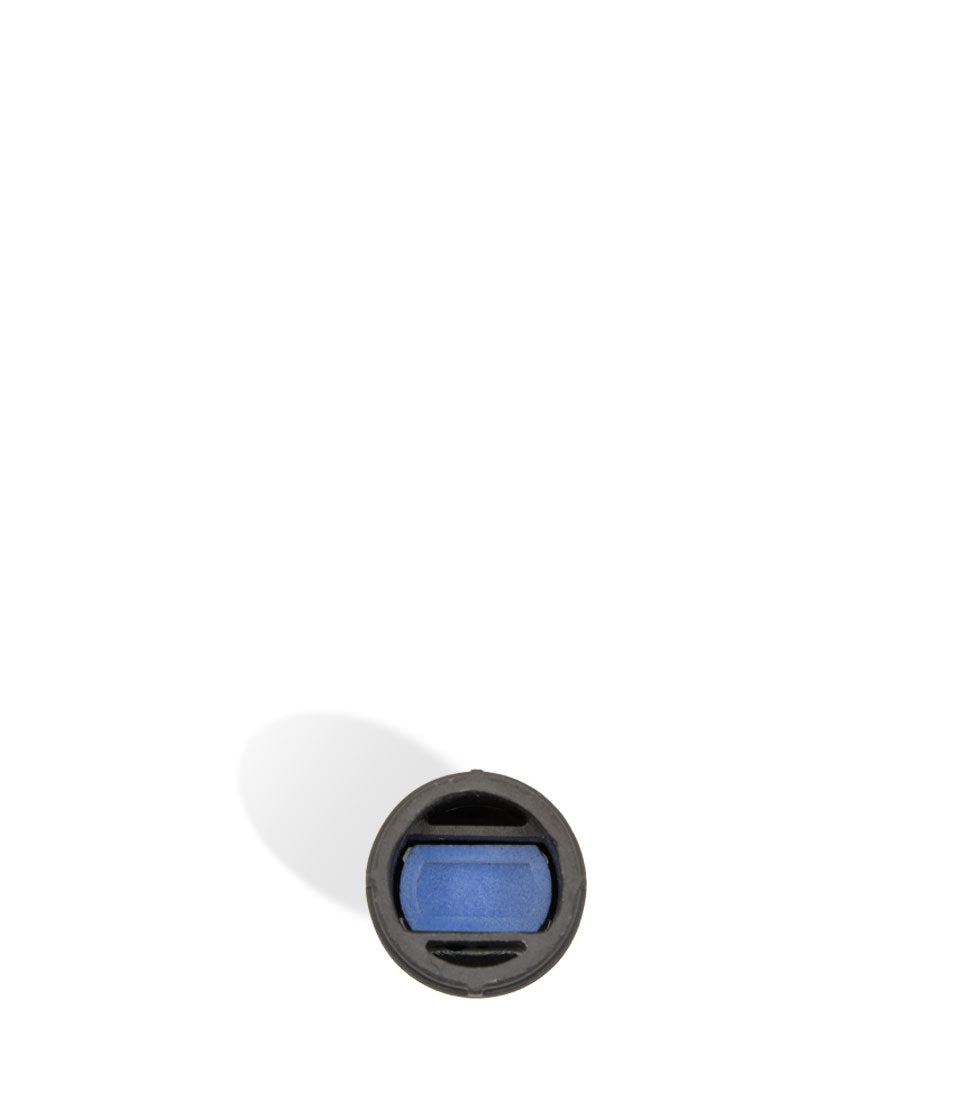
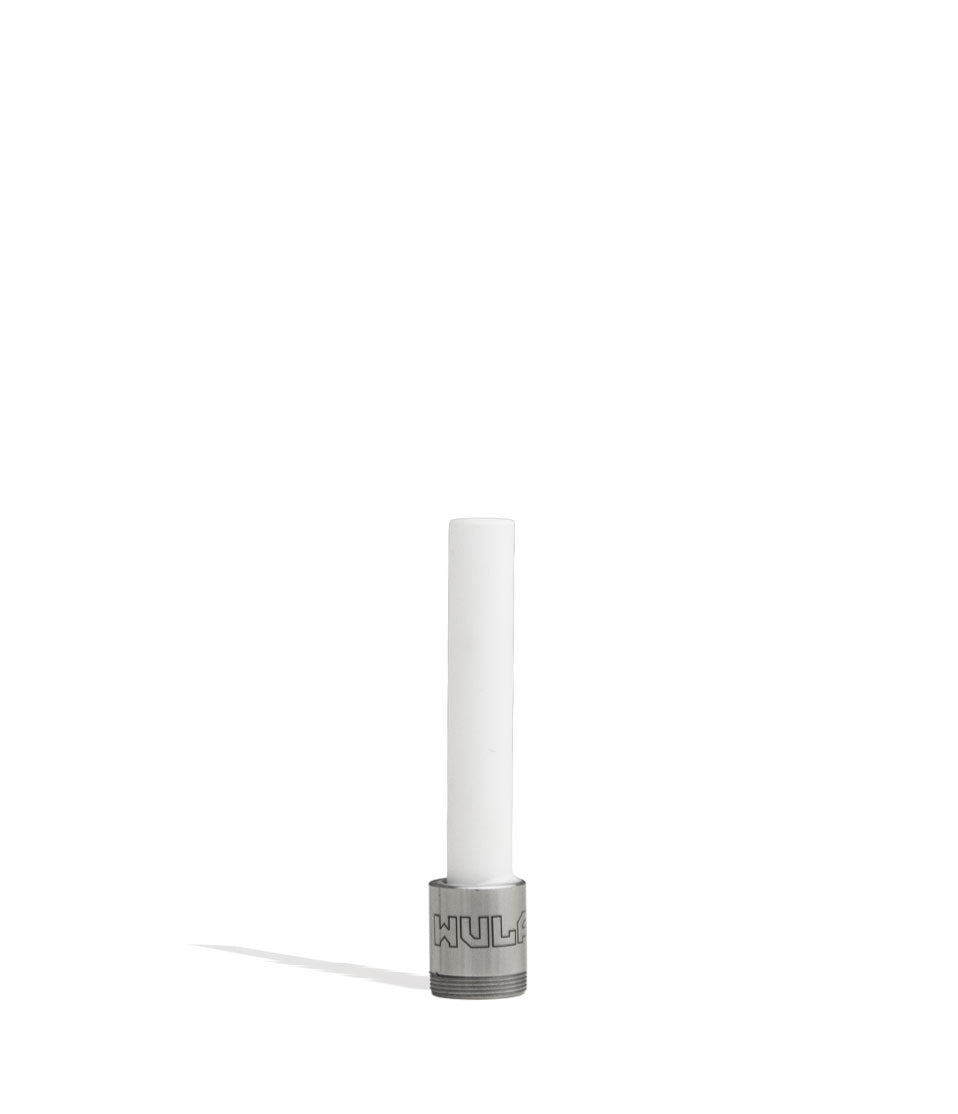
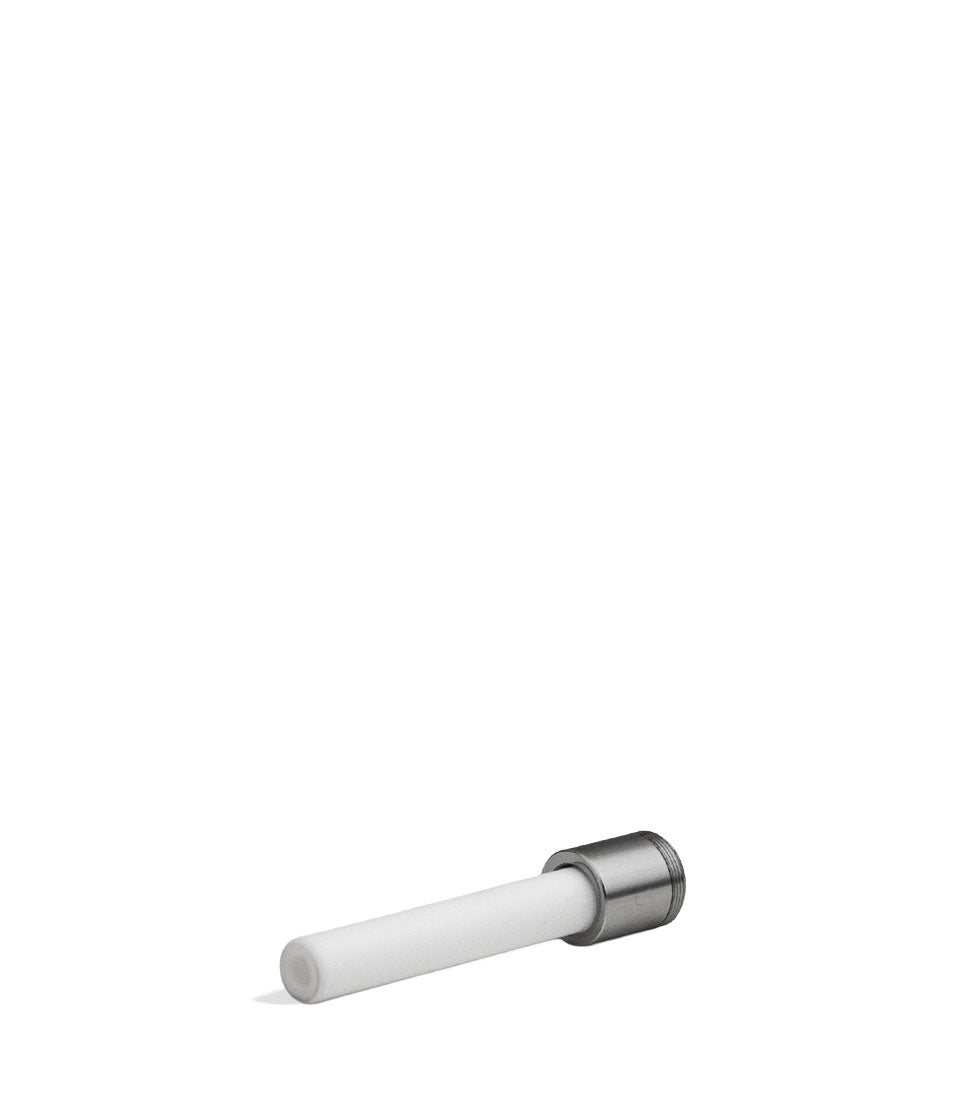
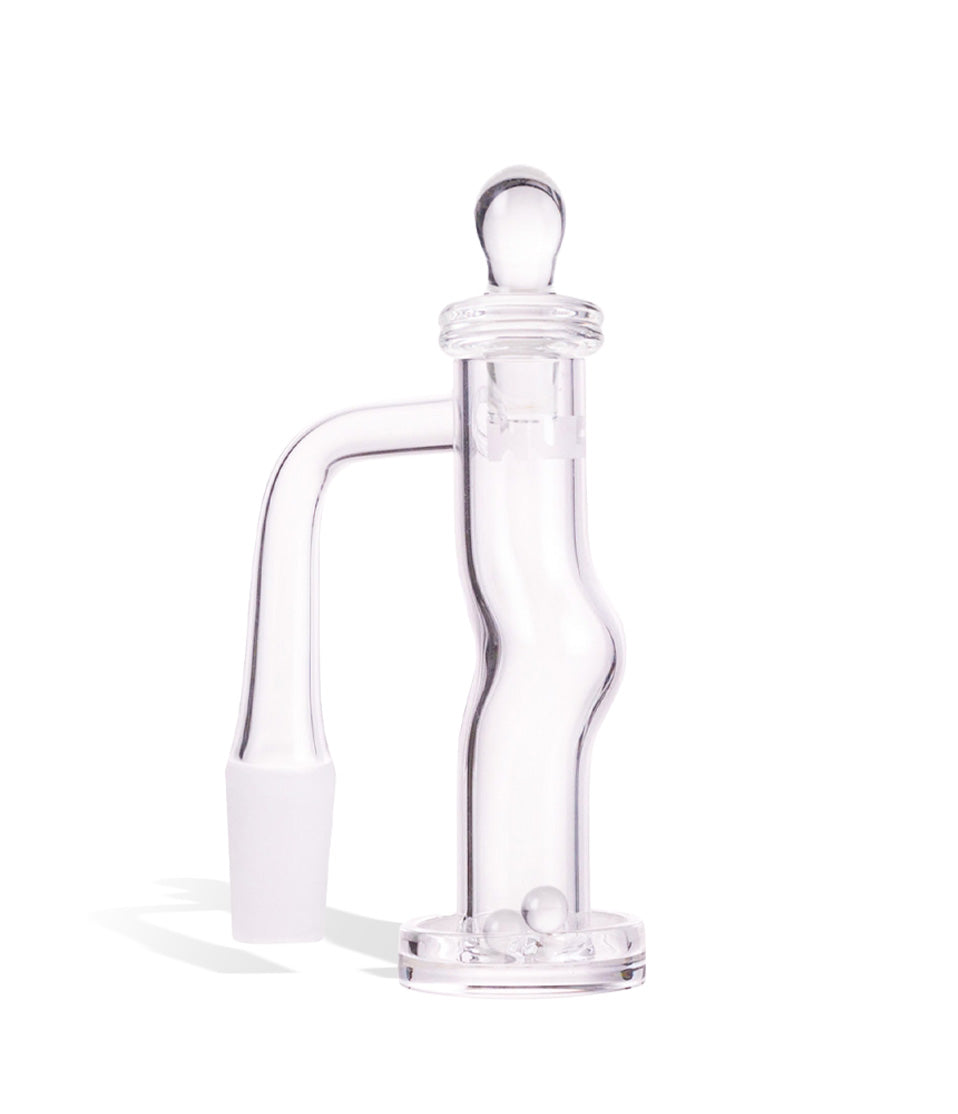
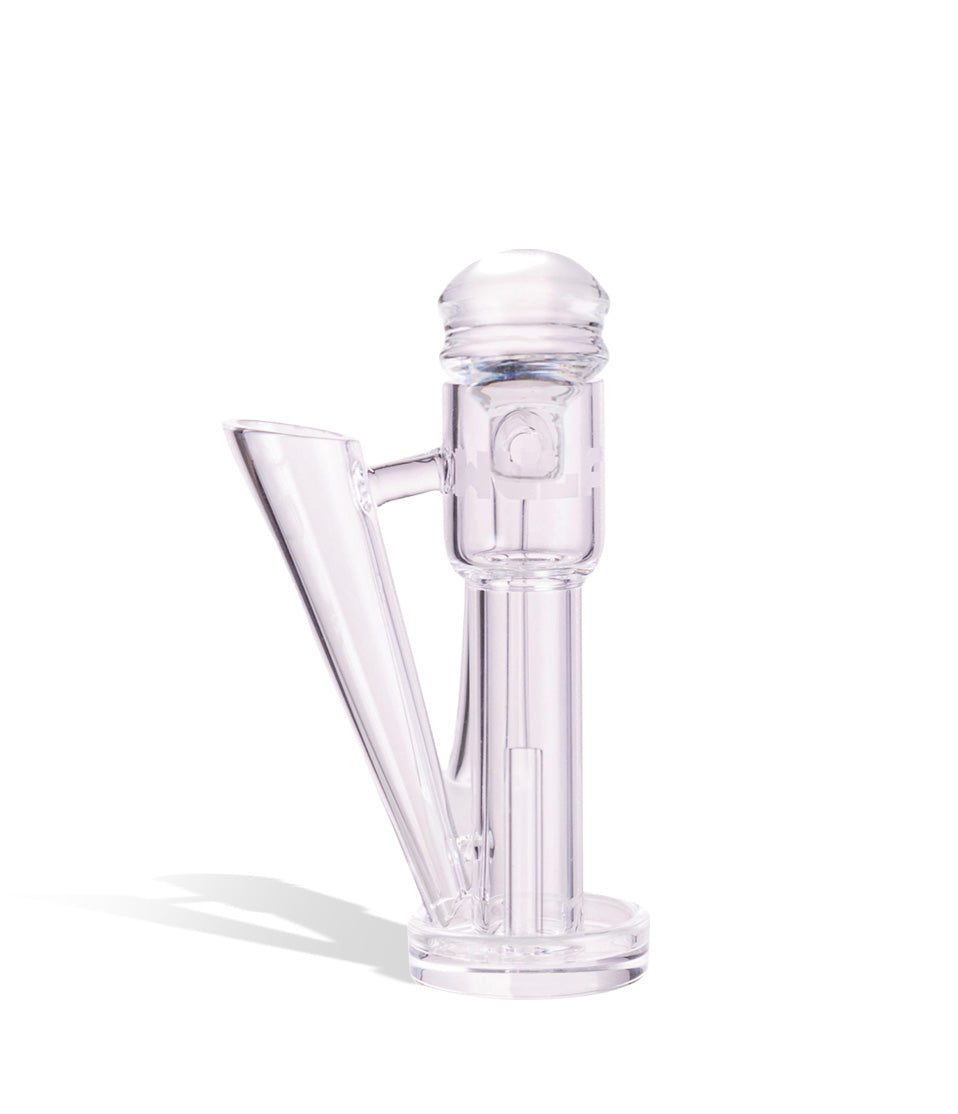
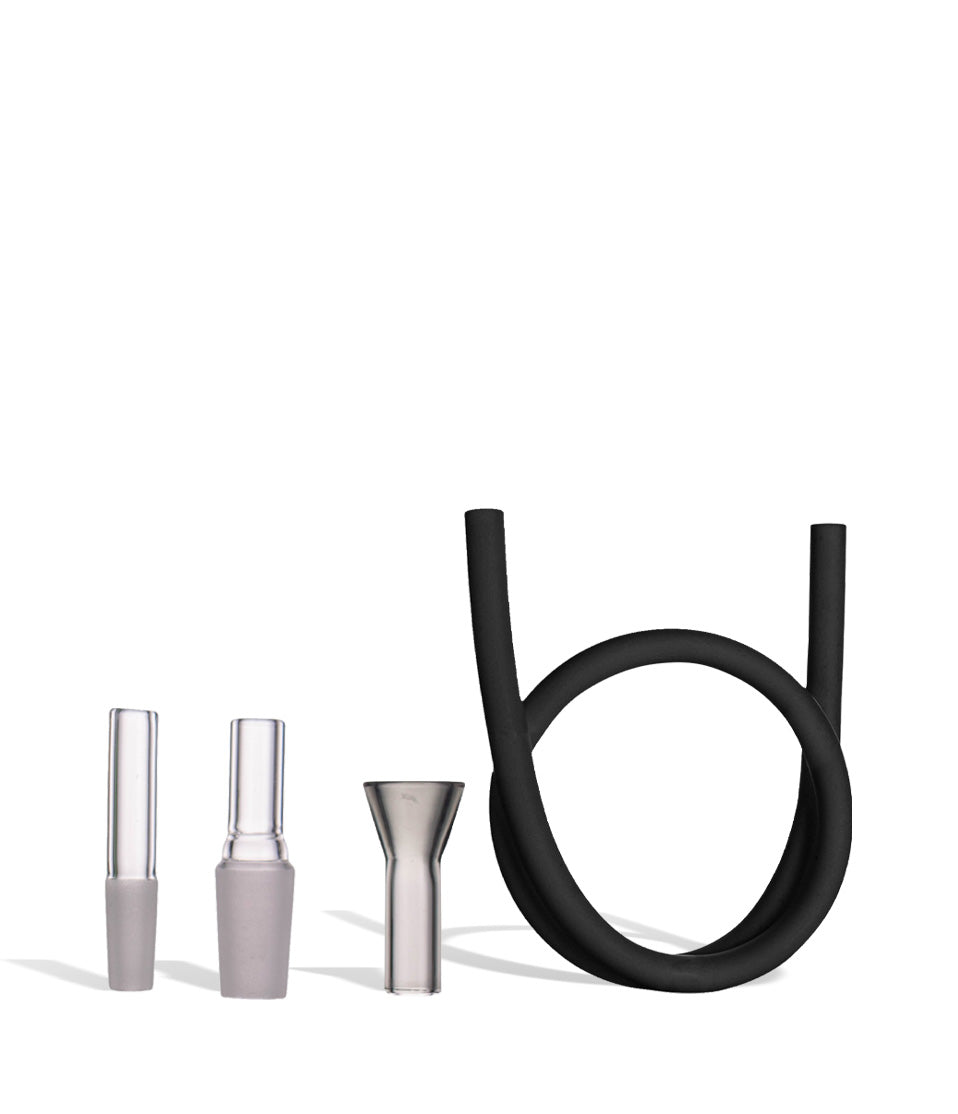
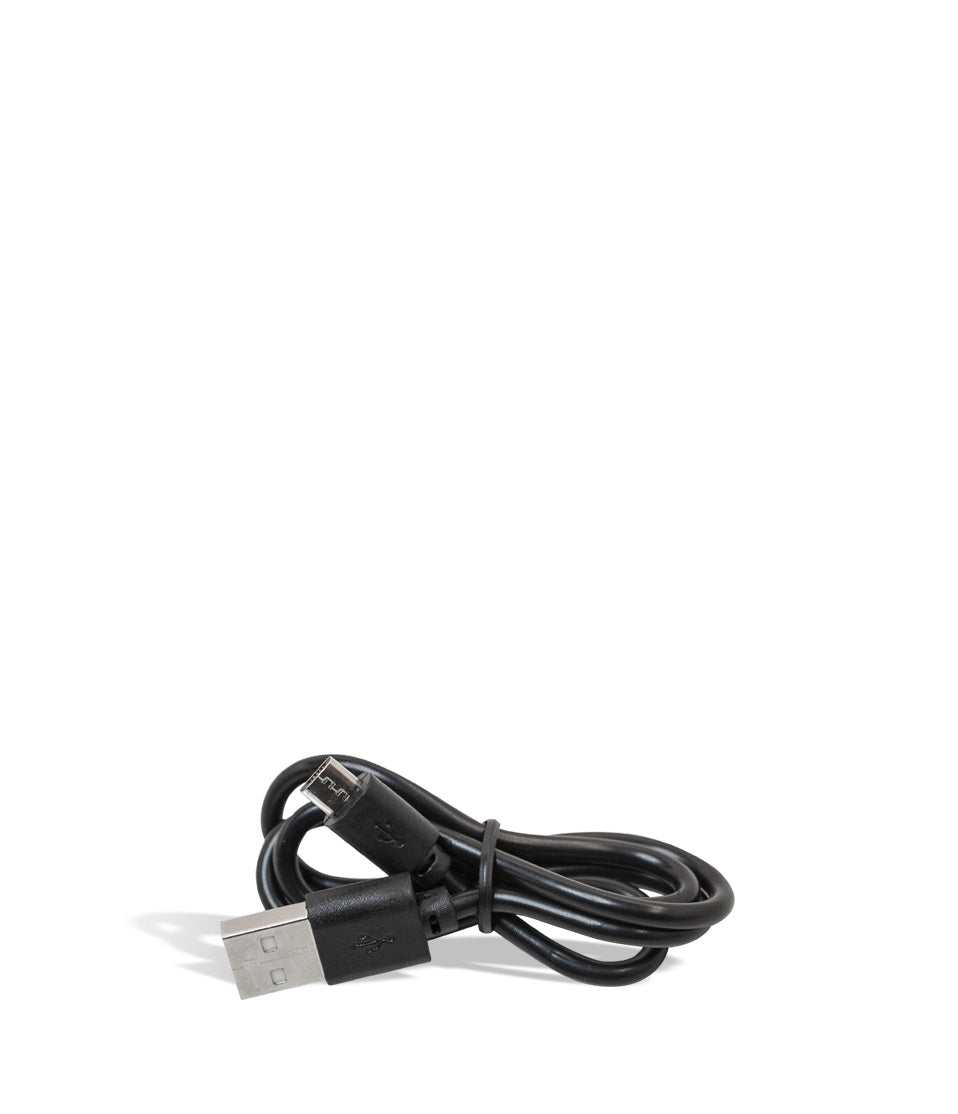
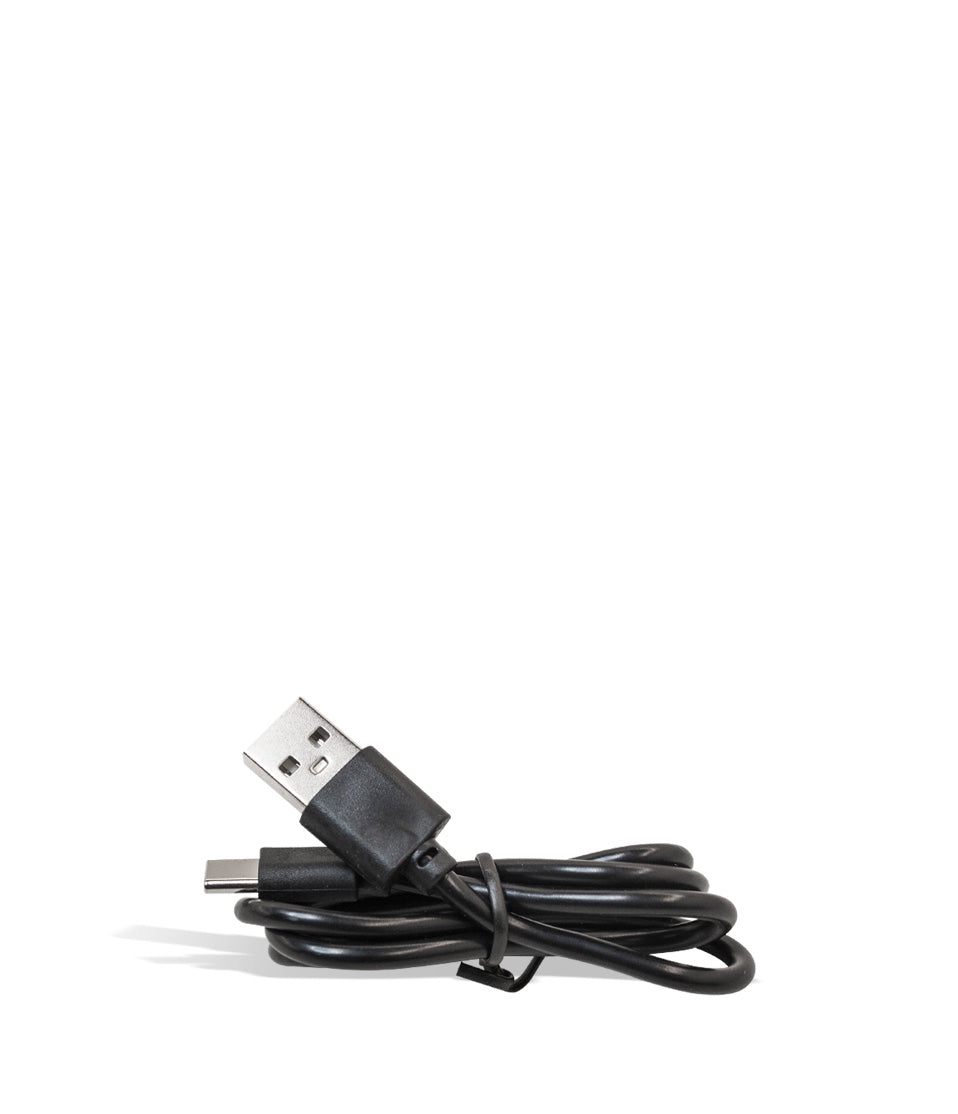
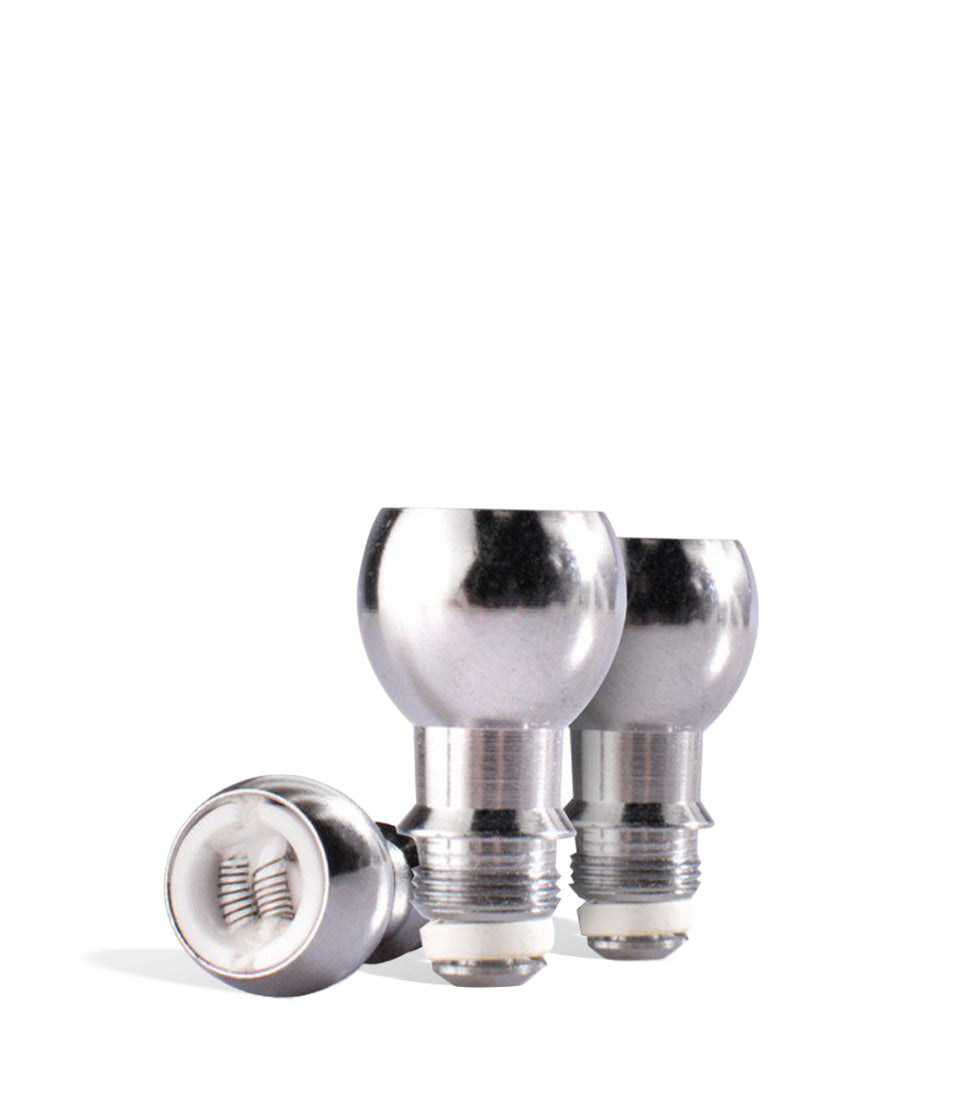
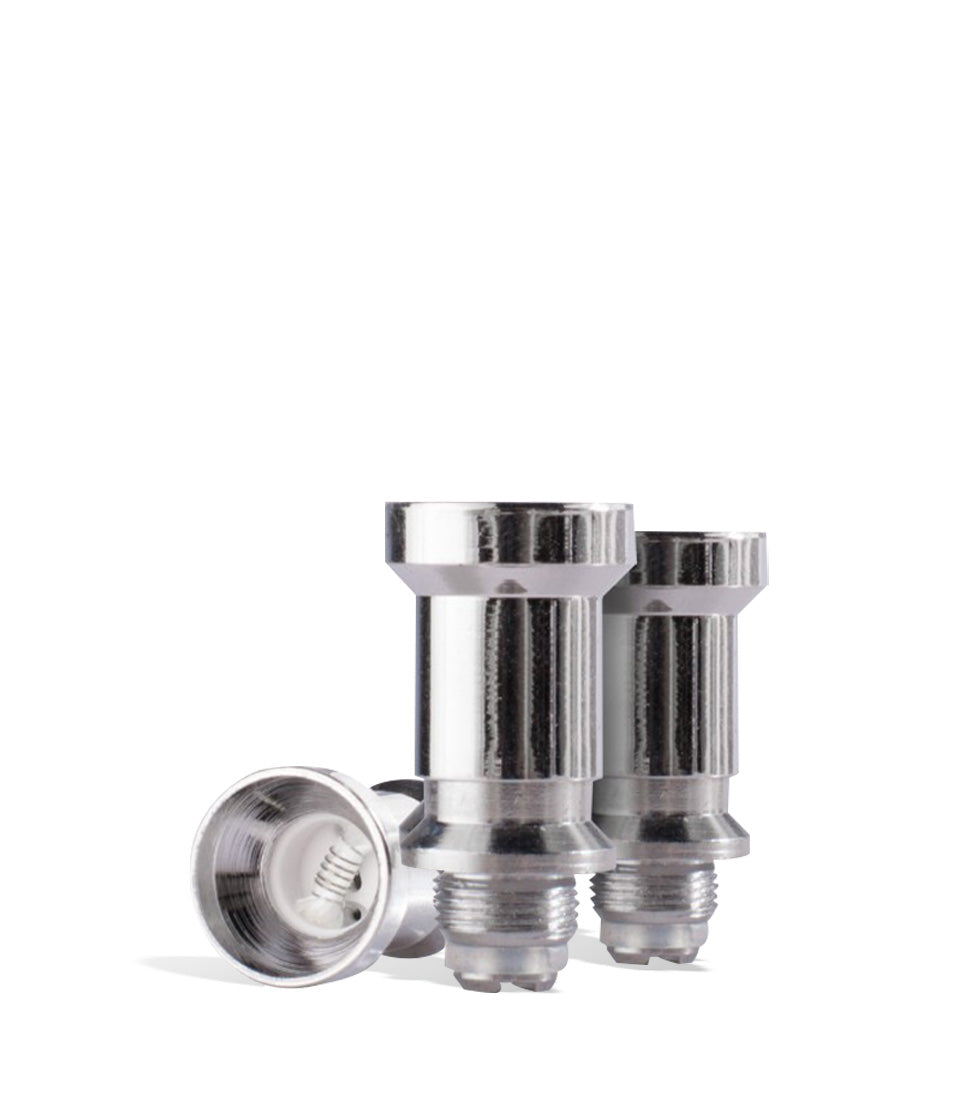
Owners Guide
Owner Playbook
The full playbook below expands on the practical steps and tips behind this guide.
Our Wulf Growler Electronic Dab Rig has quickly become an all time favorite amongst the Wulf Pack, with its particular portable blend of high powered dabbing capabilities and smooth water filtration delivering the ultimate pocket sized e-rig for your sessions.
But amidst all of the dabbing we’ve consistently received the same question, how do you change the atomizer on a Wulf Growler?
Well to clear things up and let you know just how easy it is to remove and reattach your atomizers, Wulf is here to dispense some Wulf Pack wisdom by giving you the down low on everything there is to know about your Wulf Growler Atomizer.
As a direct result of our lengthy history of ripping vapes, we ensured that changing the atomizer on your Growler is made simple and reliable, letting you focus more on ripping mind melting dabs and less on fighting with your vape.
Table of Contents:
When Should You Replace Your Atomizer?
How To Change Your Growler Atomizer
Common Mistakes To Avoid While Swapping Atomizers
Troubleshooting After Installation
Extending Atomizer Life
How Often Should An Atomizer Be Replaced?
FAQ: Changing Your Wulf Growler Atomizer
Turn And Face The Change
When Should You Replace Your Atomizer?
Before learning how to change the atomizer on a Wulf Growler Electronic Dab Rig, it’s helpful to recognize when your current atomizer has reached the end of its life.
Some common signs include:
- Reduced vapor production
- Weak flavor
- Longer heat up times
- Uneven heating
- Burnt or unpleasant taste
- Visible wear inside the chamber
These symptoms don’t always mean the atomizer has failed completely, but that things are headed in that direction and you should probably start looking into getting a set of replacements for your sessions.
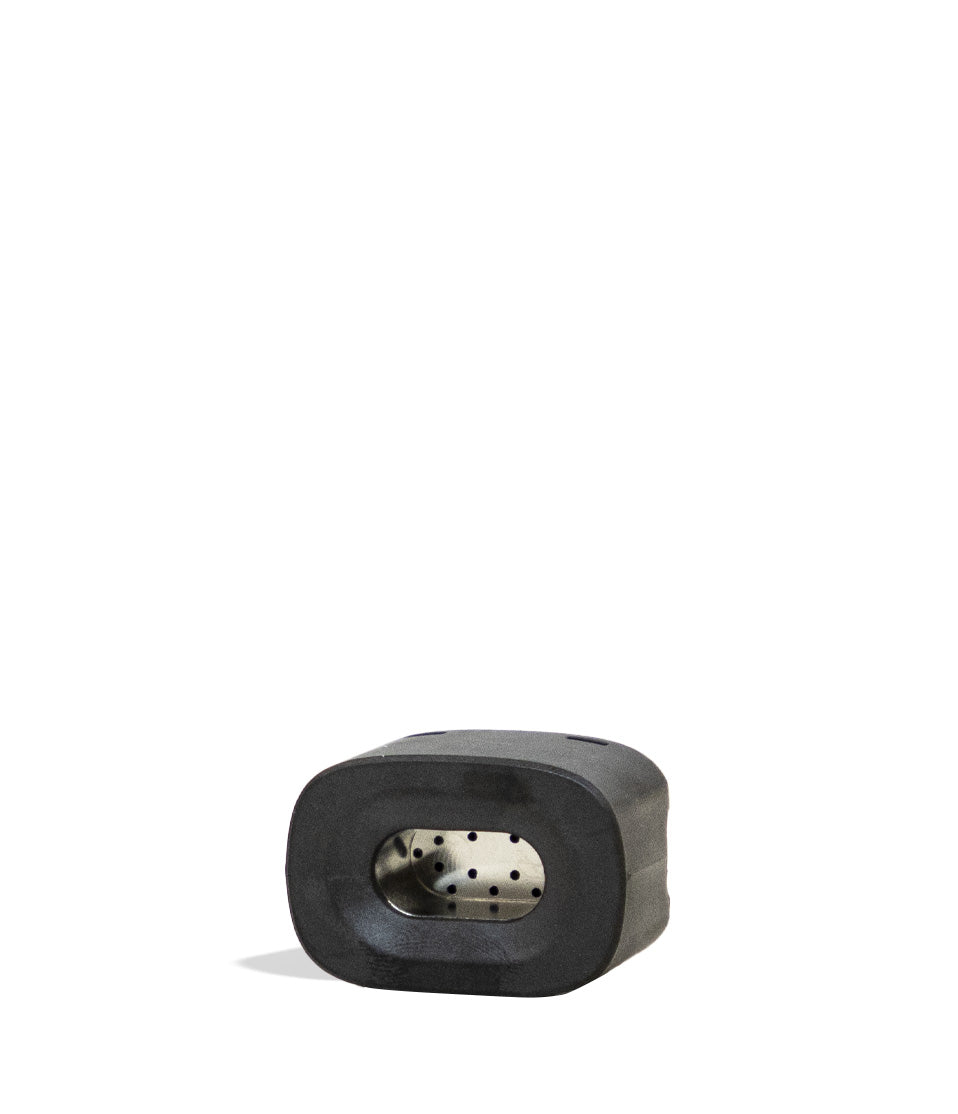
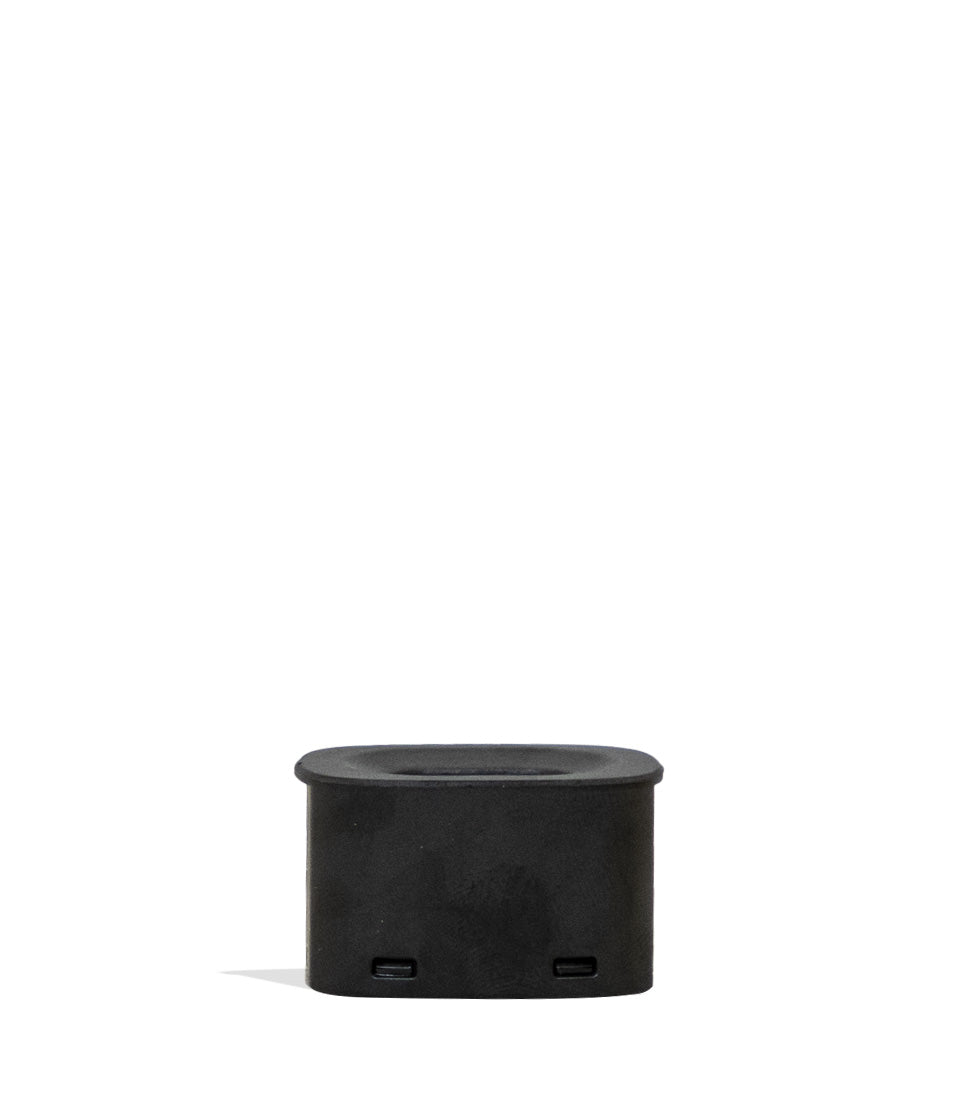
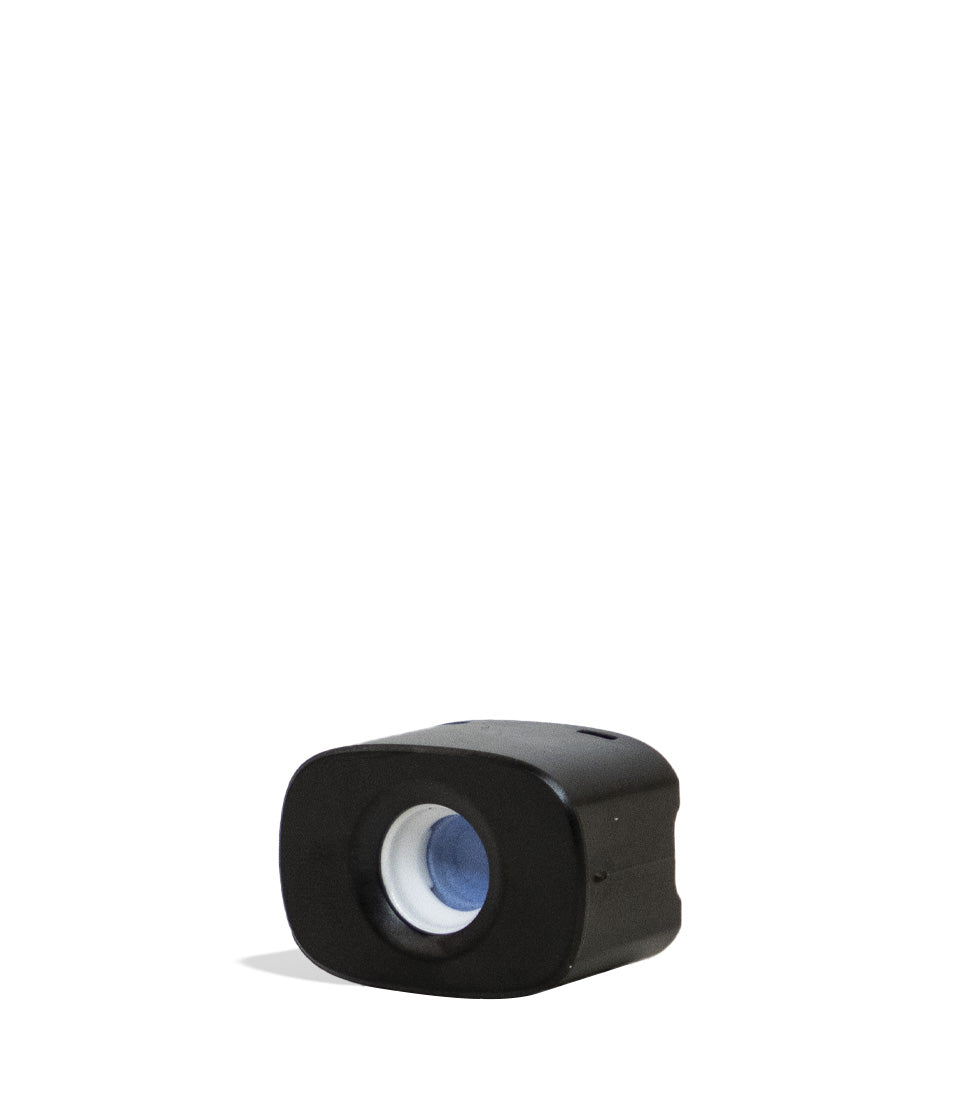
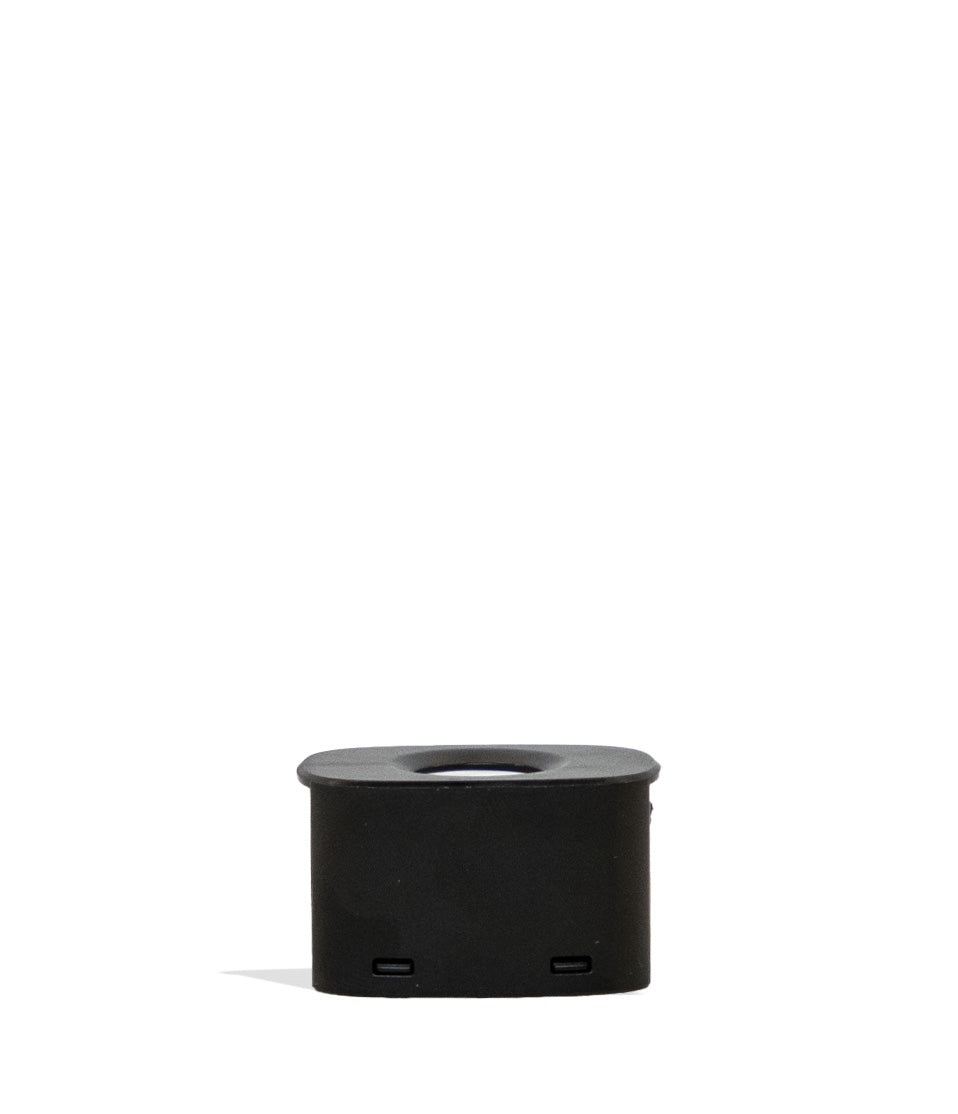
Luckily all Wulf Growler Atomizers are affordably priced and give you a set of two, ensuring that you have enough coverage for tons of sessions to come. Plus with two in hand, handling cleaning is far more manageable and less time consuming.
How To Change Your Growler Atomizer
To help you change the Growler’s atomizer, we’ve created the following step by step breakdown below. This straightforward process is easy to accomplish and can be done in just seconds once you know what to do.
The key here is to take your time and if something doesn’t feel right or is stuck, thendo not try to force anything. You’ll avoid accidentally doing more harm than good and have an easier time changing things out.
With our tips you’ll be able to avoid all of the most common Growler mistakes and make quick work of swapping your atomizer whether you’re at home or out and about with ease.
Step 1: Turn Off The Growler
Safety always comes first with the Wulf Pack, which is why you absolutely must turn off your Wulf Growler before ever attempting to remove the atomizer from your dab rig.
For all those sitting in the back we’ll say it one more time, NEVER remove your Growler atomizer while it’s turned on. ONLY ever attempt to swap things out while your battery is fully powered off to protect your vaporizer and more importantly, yourself.
To do so, all you have to do is press the power button 5x in a row and your Growler will safely turn off, leaving you ready to proceed.
Step 2: Remove The Water Tank
In order to get a better grip on your tank, we recommend removing the water tank from your Wulf Growler. This will make your life a whole lot easier and only takes a second. Just make sure to place your tank somewhere safe.
Be sure to double check the Growler travel lock is engaged while removing, this way you don’t accidentally spill any water in the process. By removing the water tank you are providing yourself easier access to the heating chamber and helps prevent accidental damage during the replacement.
Step 3: Remove The Tether
We also recommend removing the plastic tether from the top of your Growler Atomizer as well in order to give you completely clear access to the chamber.
Simply slide the tether up and off the top of your atomizer. Thanks to their easily removable design, this also gives you a chance to clean up the tether in case it’s accumulated any leftover concentrates.
Step 4: Remove The Existing Atomizer
Time for the main event. To remove the atomizer from your Wulf Growler Electronic Dab Rig slowly twist it counter clock wise until it slides out. Due to the secure connection, it takes a few spins to fully remove so just keep going and the atomizer will be off in moments.
Once unattached from the threaded connection, your Wulf Growler will effortlessly slide out of the main body. So keep twisting and never attempt to force it out, as trust us when it’s been unthreaded it will pop right out.
For a quick time hack, we recommend holding firmly onto the top of your chamber and then rotating the body of your Wulf Growler around in order to speed up the process. This can be used to reattach the atomizer as well.
Remember to avoid forcing anything and if it doesn’t seem to be budging, double check that you’re twisting itcounter clockwise, as you’d be surprised how many people accidentally mix them up and are left stumped.
Additionally residue build up can make things a little tight. If this happens then clean around the atomizer connection with an isopropyl alcohol swab and then attempt to remove the atomizer from your Growler again.
Step 5: Inspect The Connection
Before installing a new atomizer or swapping back in your cleaned old one, we recommend first inspecting the connection port in order to make things 100% clean. With the atomizer off, now is the perfect time to reach all the tight spots you previously couldn’t access. the connection point.
Look for:
- Concentrate residue
- Dust
- Debris
- Damaged threads
Use a dry cotton swab or microfiber cloth to gently clean the contact area if necessary. Never get moisture near your connection and make sure that it is completely dry before attempting to reload your Growler.
Step 5: Install The New Atomizer
Now you can either swap in your freshly cleaned atomizer or a new replacement one. To do simply place it back into the chamber port and gently twist it clockwise until it doesn’t turn anymore.
Once you ready the firm stop at the end, you do not need to keep twisting. This indicates that the new Wulf Growler atomizer is fully attached and any additional force will result in over tightening.
With the atomizer reattached, you’re now all ready to get back to your dabbing with a fresh start and the strongest of vapor production.
Step 6: Perform A Test Heat Cycle
Before loading concentrates into your Wulf Growler atomizer, we recommend running a brief heating cycle with an empty chamber. This way you don’t accidentally waste materials if you messed anything up and can properly test things out.
This allows you to:
- Confirm proper installation
- Verify heating performance
- Ensure everything is functioning correctly
If the chamber heats normally, you’re ready for your next session and pack up your atomizer for another rip roaring season! With a clean atomizer you’ll be ripping bigger clouds with your Wulf Growler and enjoying it at 100% capacity!
Common Mistakes To Avoid While Swapping Atomizers
Many people replacing an atomizer for the first time make a few simple mistakes, but with a little heads up you’ll be able to easily dodge this. This way you can swap things up like a seasoned dab mechanic and get back to vaping as soon as possible.
We Recommend Avoiding:
- Installing While Hot: Always allow the vaporizer to cool first.
- Over tightening: Hand tight is plenty and doing too much can harm overall performance.
- Ignoring Dirty Connections: Clean contact points improve performance.
- Using Damaged Components: Replace worn or damaged parts immediately.
A few extra seconds of care can help prevent unnecessary problems later, so always slow things down while handling your atomizer and you’ll be able to enjoy a far smoother swapping experience.
While you may be in a rush to swap in a new atomizer, taking the extra 30 seconds to do things properly is always worth the delay and will help ensure you don’t get further slowed down by any unforced accidents.
Troubleshooting After Installation
Occasionally you may notice something doesn’t seem quite right after replacing the chamber. To help with this we recommend looking at some of the most common troubleshooting steps to review, should you ever encounter the same.
Basic Wulf Growler electronic dab rig troubleshooting includes checking:
- Atomizer connection
- Proper threading
- Battery charge
- Clean electrical contacts
- Correct assembly
While this rarely does happen, the best course of action is to of course completely remove your atomizer, check the threads, and then attempt to reattach it. Having done this ourselves, you’d be surprised how many times this instantly fixes any issues.
Extending Atomizer Life
Although atomizers naturally wear over time, good maintenance can maximize their longevity and let you get vastly more value out of your Growler. Not only will this help your vape last longer, but you’ll actually enjoy better vapor the entire time as well.
Some helpful habits include:
- Cleaning after regular use
- Avoiding excessive residue buildup
- Using appropriate temperatures
- Loading reasonable concentrate amounts
- Allowing cooling between long sessions
Routine maintenance keeps both flavor and vapor production performing at their best. Take a look through our detailed guide on how to clean the Wulf Growler here for some easy tips that will make your maintenance more effective and faster to complete on the fly.
How Often Should An Atomizer Be Replaced?
Replacement frequency depends on several factors:
- Usage frequency
- Cleaning habits
- Temperature settings
- Concentrate type
The biggest here is how often you use your Wulf Growler, as this determines how much stress and work is being applied to your atomizer.
The number one way to extend your Growler lifespan is to stay on top of cleaning, as this prevents any maintenance issues from growing in size. With a clean setup you’ll get better clouds and let your Growler do it’s best without impediment.
Rather than focusing strictly on time, pay attention to changes in flavor, vapor production, and heating performance.
Turn And Face The Change
See? With just a few tips from the Wulf Pack swapping out your Growler Atomizer is literally as easy as a b c. Enjoy far easier maintenance and never let a burnt out chamber get in the way of your session ever again.
Have any more questions? The Wulf Help Center is available with tons of articles just like this detailing all of the most common vaporizer solutions! Thanks for stopping in with the Wulf Pack and stay howling out there y’all! Arooo!!!
Frequently Asked Questions
Owners Guide FAQs
Common questions related to this guide and how to apply the information when choosing your device.
How Do I Change The Atomizer On A Wulf Growler Electronic Dab Rig?
How Often Should I Replace My Wulf Growler Atomizer?
Do I Need Any Tools To Replace The Atomizer?
Should I Clean The Connection Before Installing A New Atomizer?
Why Isn't My New Atomizer Heating?
Can I Replace The Atomizer While The Growler Is Warm?
Does Over tightening Damage The Atomizer?
How Can I Make My Atomizer Last Longer?
Should I Keep A Spare Atomizer?
Where Can I Find Replacement Parts For My Wulf Growler?
Wulf Mods Trust Center
About This Resource
Understand how this guide was researched, reviewed, and maintained by the Wulf Mods editorial team.
Editorial Standards
- Written for the people choosing and using these devices.
- Reviewed for clarity, accuracy, and practical retail value.
- Based on current manufacturer specifications and product documentation when available.
- Updated as products, regulations, category trends, or market conditions evolve.
- Built on deep, hands-on product experience.
- Designed to help you choose the right device with confidence.
Research Methodology
This owner guide was prepared to help you set up, use, and care for your device with confidence. Guidance is based on hands-on product experience, common questions, and real-world use.
- Hands-on product experience
- Setup and first-use guidance
- Cleaning, care, and maintenance
- Common questions and troubleshooting
- Safe and responsible use
- Real-world use considerations
- Editorial review for clarity and usefulness
Article Information
Intended Audience
- Everyday customers
- First-time buyers
- Experienced enthusiasts
- Dry herb users
- Concentrate users
- Anyone upgrading their setup
Editorial Policy
Wulf Mods educational resources are reviewed periodically to maintain accuracy and relevance. When product specifications, regulations, category trends, or market conditions change, articles may be updated with a new review date. Trusted product guidance.
Keep Exploring
Related Resources
Keep learning with related Wulf Mods resources selected to help you get more out of your device.
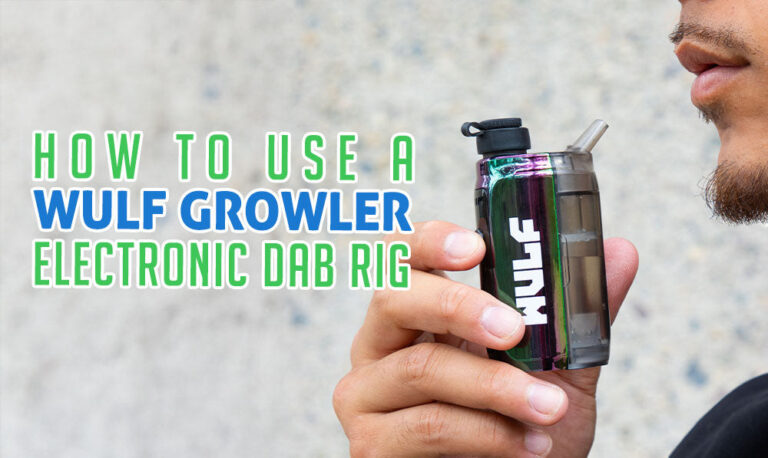
Owners Guide
Learn how to use your Wulf Growler Electronic Dab Rig with this exclusive Wulf Pack breakdown! Enjoy tastier clouds with mind m...
Read Resource →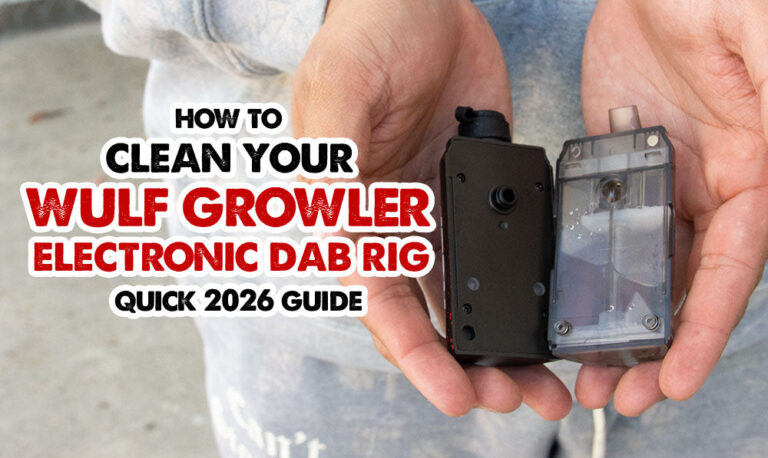
Owners Guide
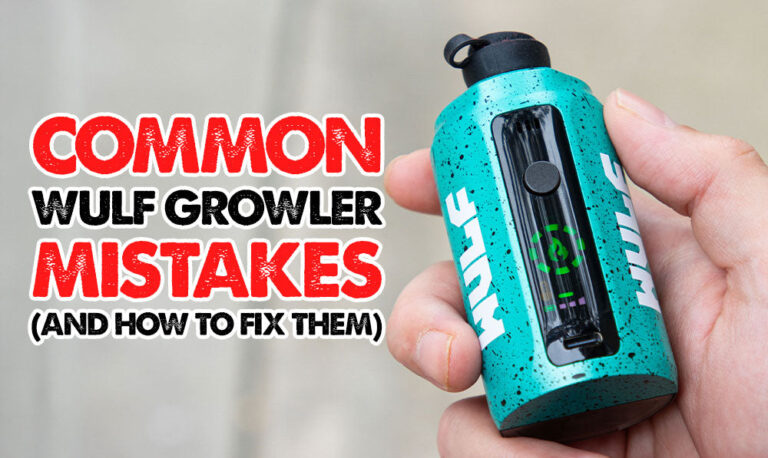
Owners Guide
Avoid the most common Wulf Growler mistakes with the help of this Wulf Pack exclusive guide. Enjoy smoother sessions with ease ...
Read Resource →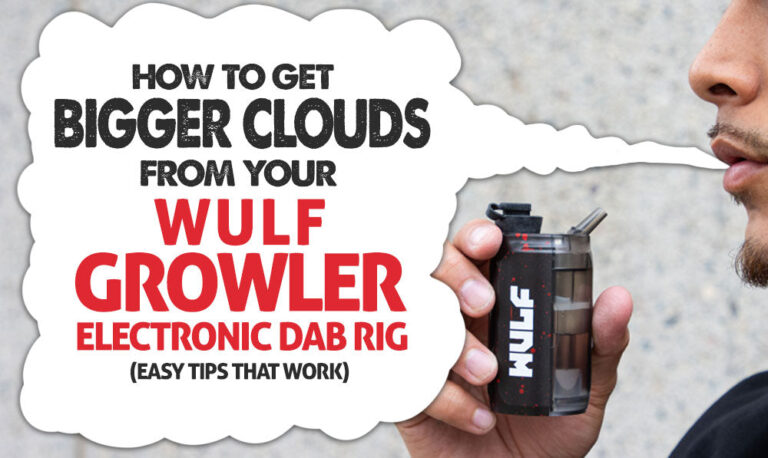
Owners Guide
Learn how to get bigger and better clouds from your Wulf Growler Electronic Dab Rig with the help of the experts at Wulf Mods. ...
Read Resource →